
Installation of IDE for Python
There are several IDEs available to create and execute Python programs. Using IDEs to develop programs makes very simple. The following are the popular IDEs specifically developed for Python programming.
- PyCharm - ( Download link - https://www.jetbrains.com/pycharm/download/ )
- Spyder - ( Download link - https://github.com/spyder-ide/spyder )
- Jupyter - ( Download link - https://jupyter.org/install.html )
- Thonny - ( Download link - https://thonny.org/ )
- Atom - ( Download link - https://atom.io/ )
Installation of PyCharm on Windows operating system
PyCharm is one of the most popular IDEs for Python. The PyCharm was developed by JetBrains. Let's look at the step by step process of installation.
Step 1: Download the latest version of Python Installer
Download the latest version of PyCharm from the link https://www.jetbrains.com/pycharm/download/ . When we visit this website it displays the following.

In the above screen click on the Download Now. There are two variants of PyCharm IDE.
- Professional (Paid)
- Community (Free)
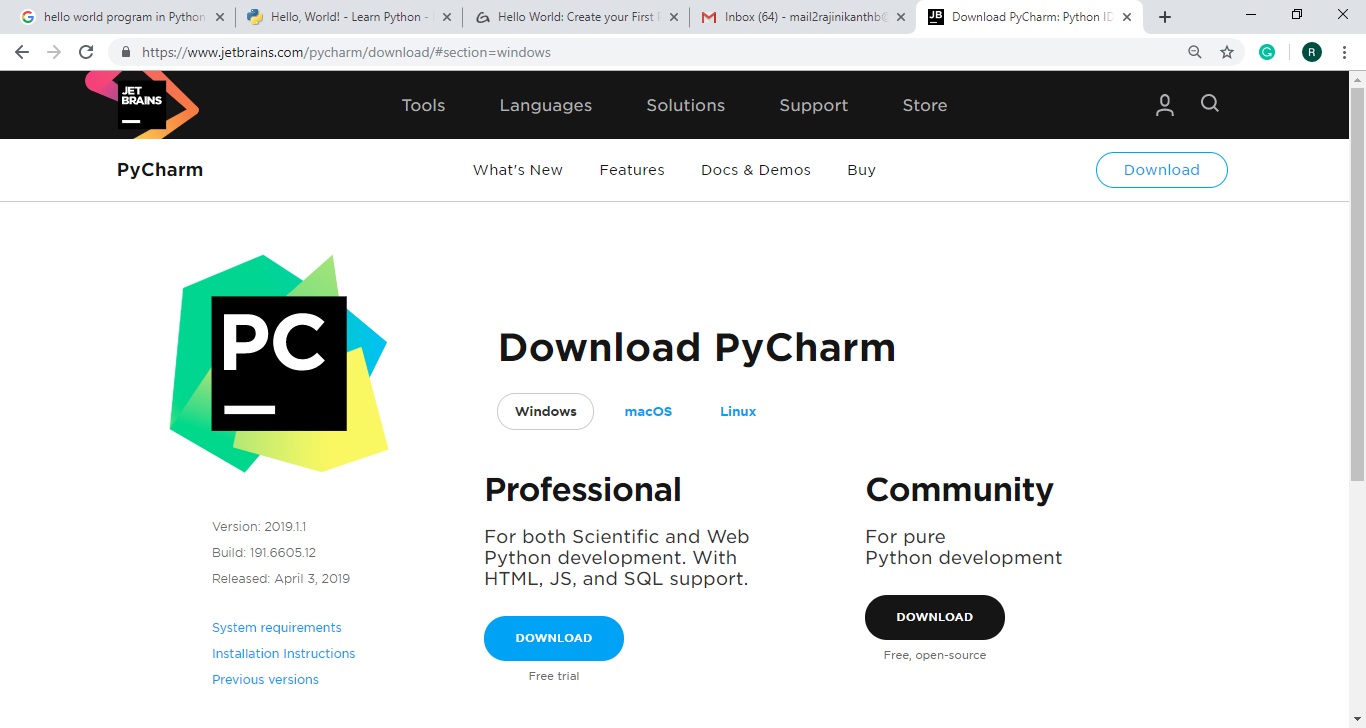
Let's go with the free Community version. So click on the Community version Download button to start downloading the PyCharm installer for Windows operating system.
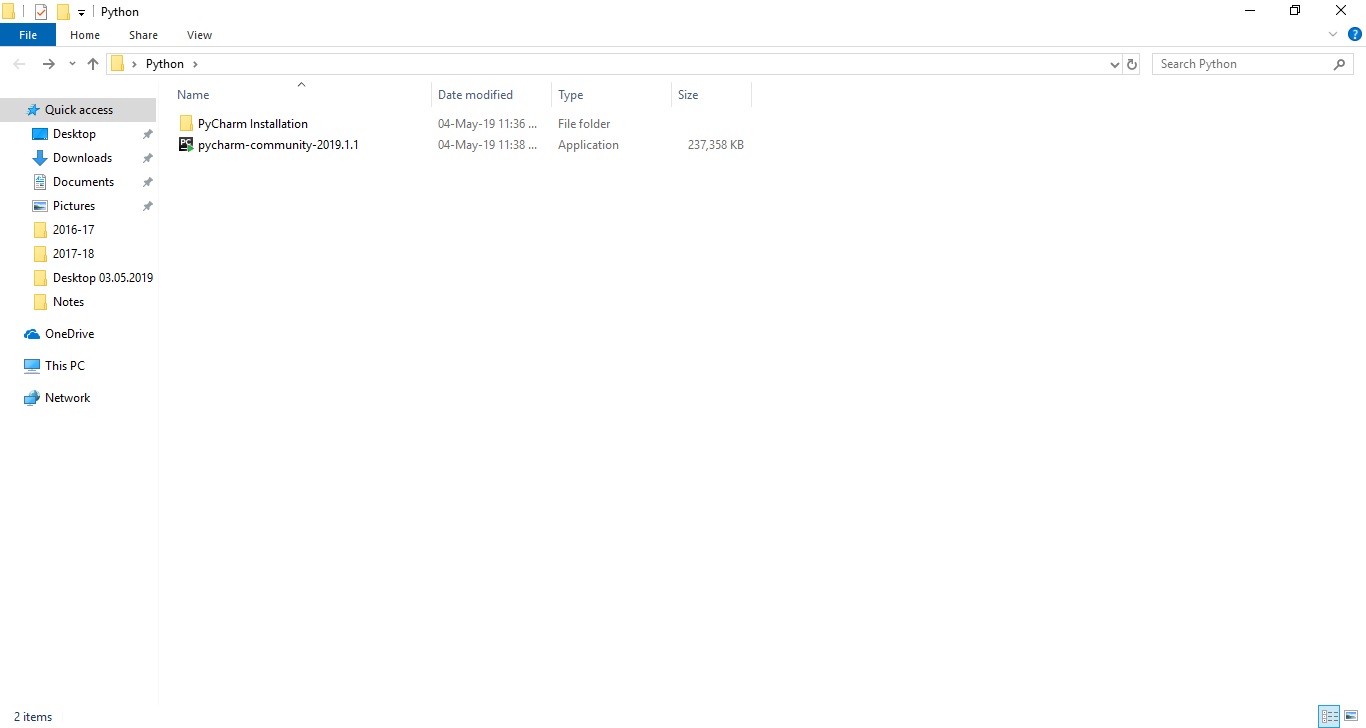
In Windows operating system once download completed the installer file appears in the downloaded folder as shown in the following figure.
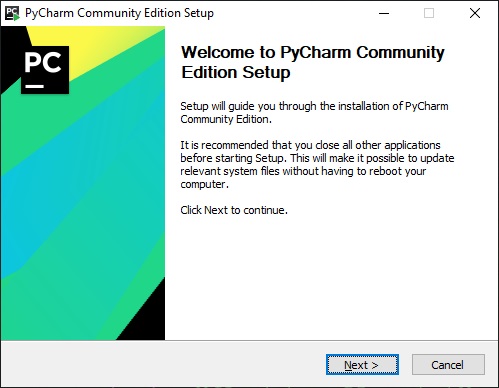
Step 2: Run the PyCharm Community Installer
Once the downloading is completes, simply double click on the installer. It shows the following dialog box.
Then installer shows Choose Install Location window where we need to select the destination folder for installation.
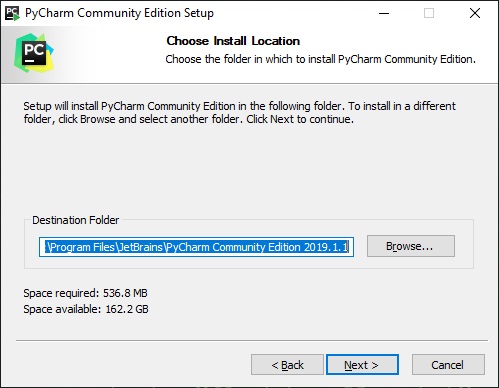
If we want to change the destination folder, browse for it and select otherwise click on 'Next' button to continue with the default destination folder.
The installer shows the installation options as follows.
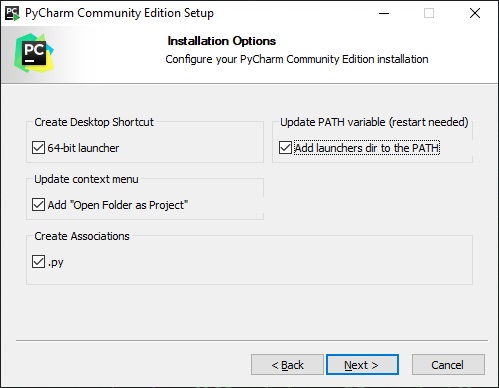
Check out the required options and click on 'Next' button. The Installer shows the following.
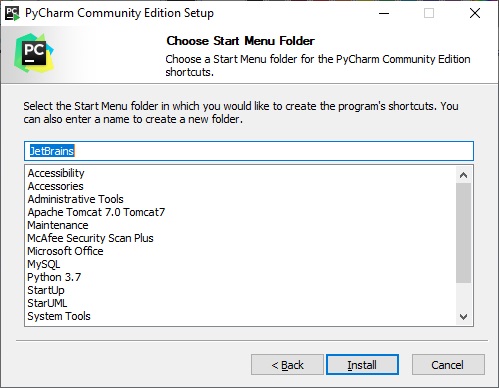
Click on the 'Install' button to start the installation.
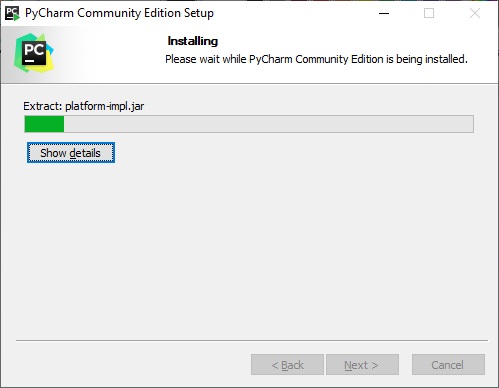
Once the installation gets completes it shows the following.
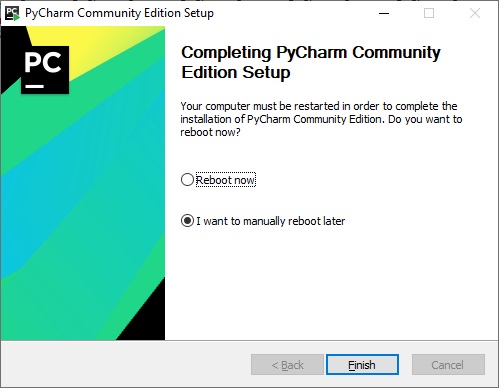
Click on the 'Finish' button to close the installation processes.