Java Practical Programs
Aim
Use Eclipse or Net bean platform and acquaint with the various menus. Create a test project, add a test class, and run it. See how you can use auto suggestions, auto fill. Try code formatter and code refactoring like renaming variables, methods, and classes. Try debug step by step with a small program of about 10 to 15 lines which contains at least one if else condition and a for loop.
Procedure
- Step 1 - Install JDK in the computer.
- Step 2 - Set the path in the Environment Variables from Advanced Setting of computer
- Step 3 - Download Eclipse from Eclipse website
Download Eclipse
- Step 4 - Install the Eclipse (follow the screen to install eclipse)
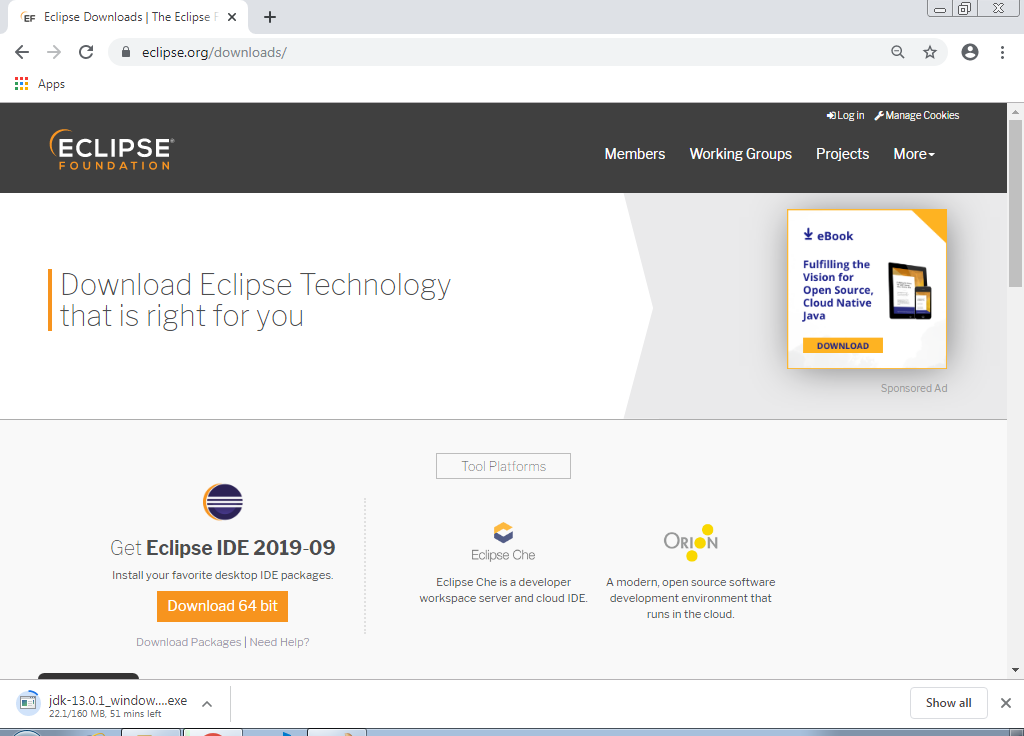
Select the sultable version based on your OS.

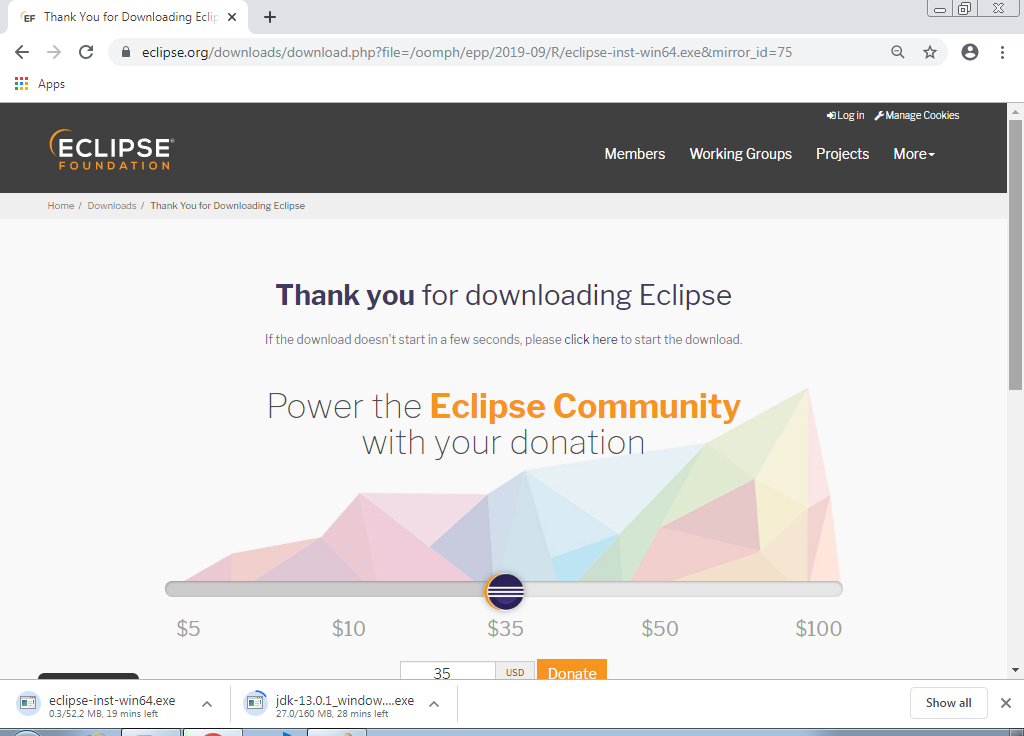
Then download get starts.
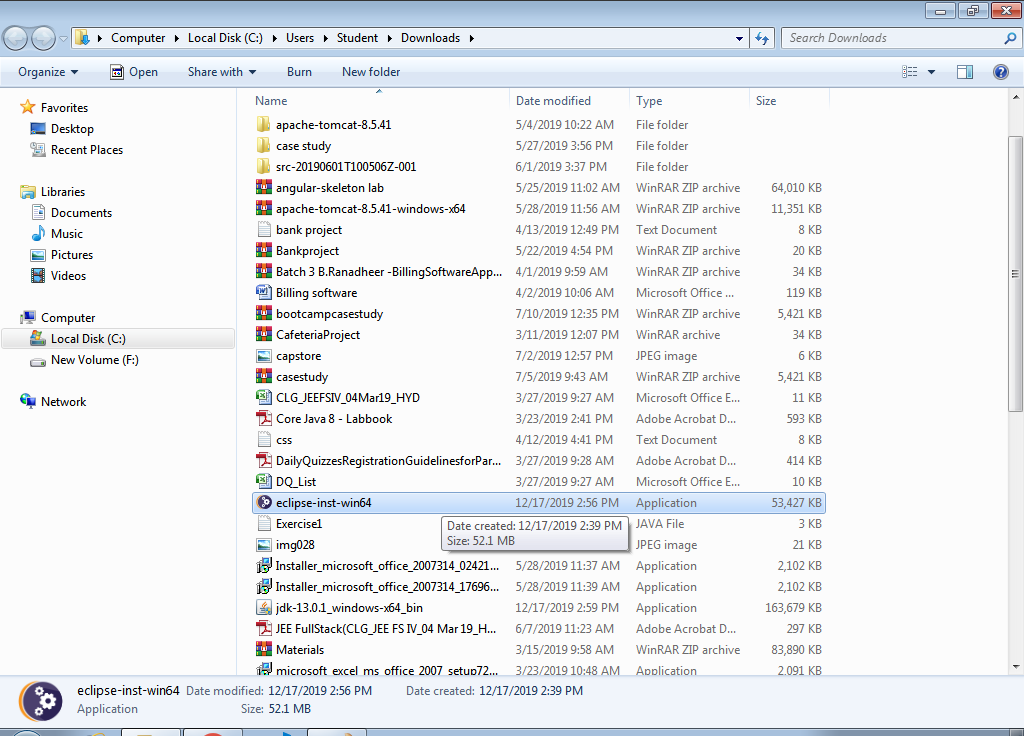
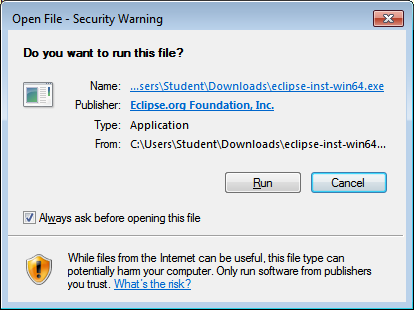
Double click on the Eclipse Application.
Click on Run in the Security Warning box.
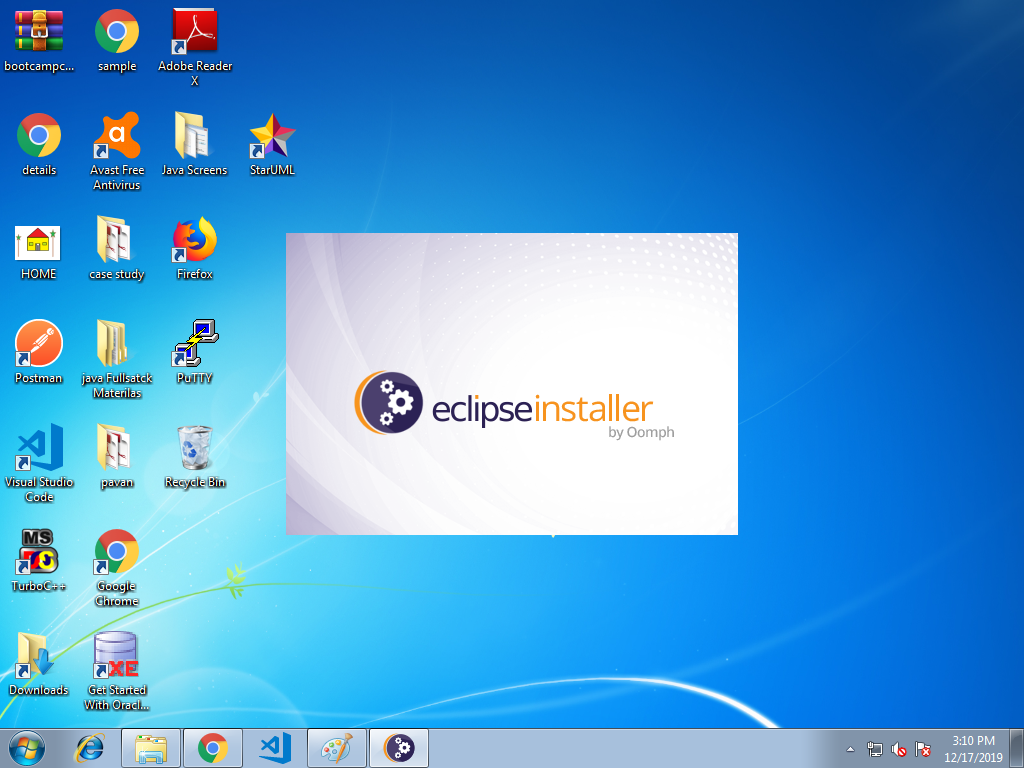
Then, the installation process begins.
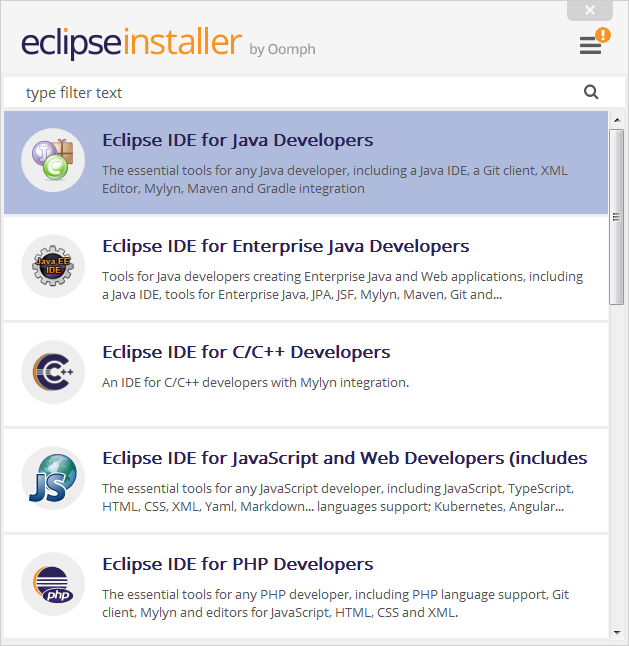
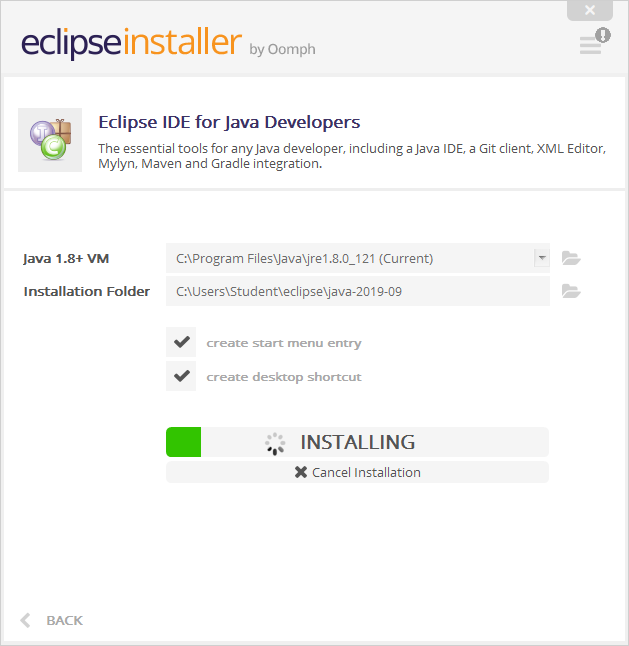
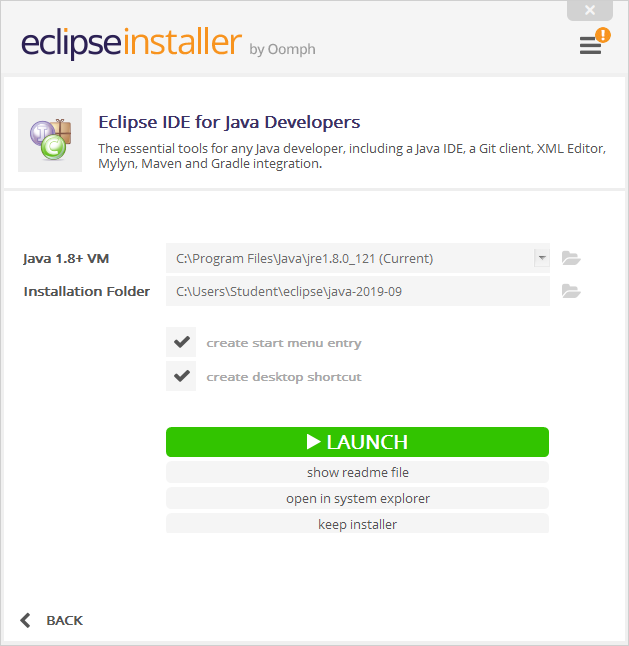
Click on Eclipse IDE for Java Developers.
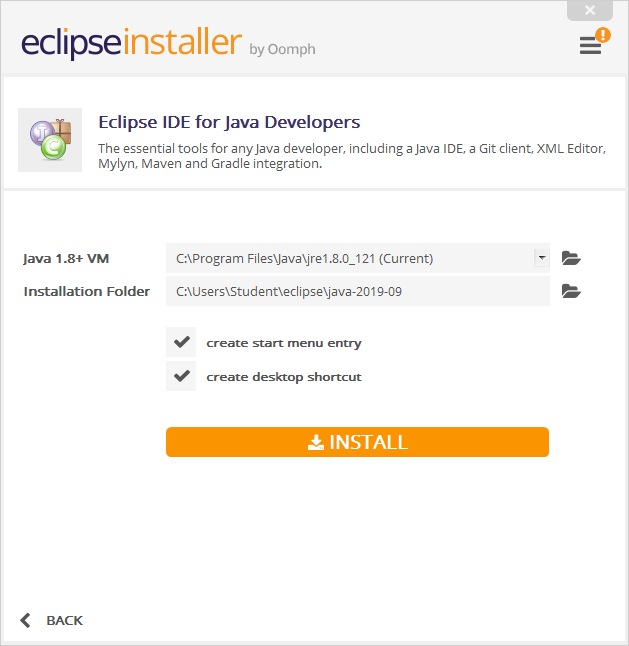
Click on Install button.
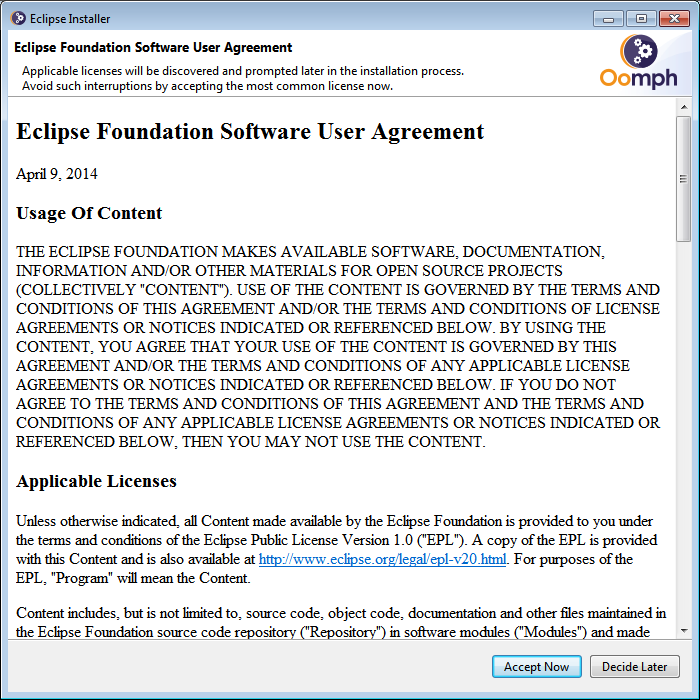
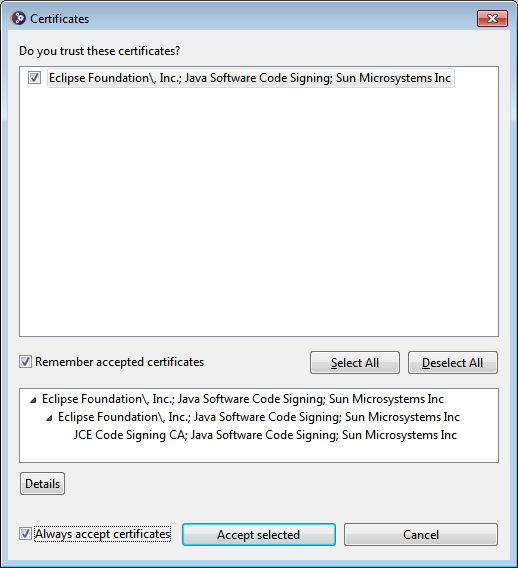
Click on Accept Now.
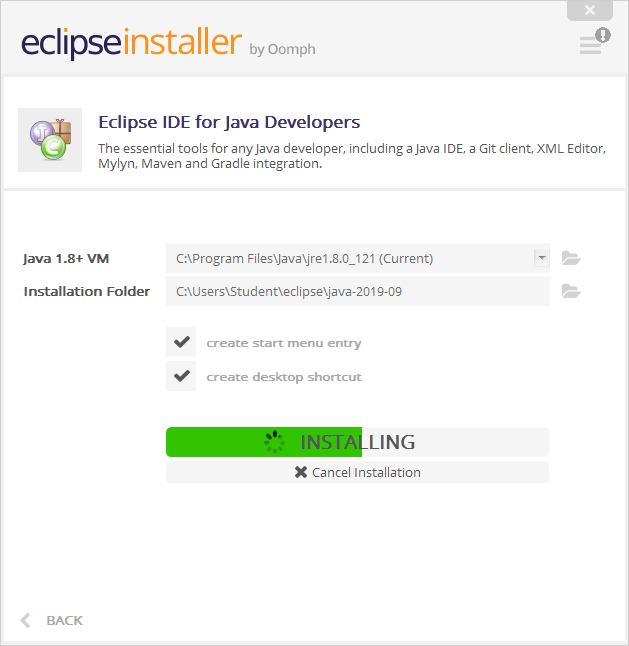
Then the Eclipse installation begins.
Click on Accept
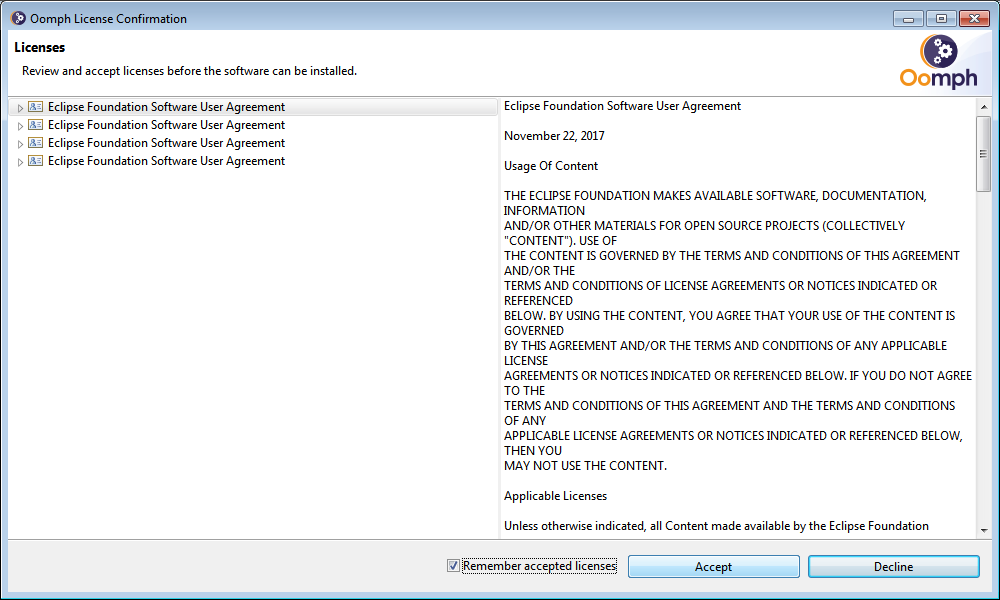
Click on Select All and Accept Selected.
After completing, click on Launch to start the Eclipse IDE.
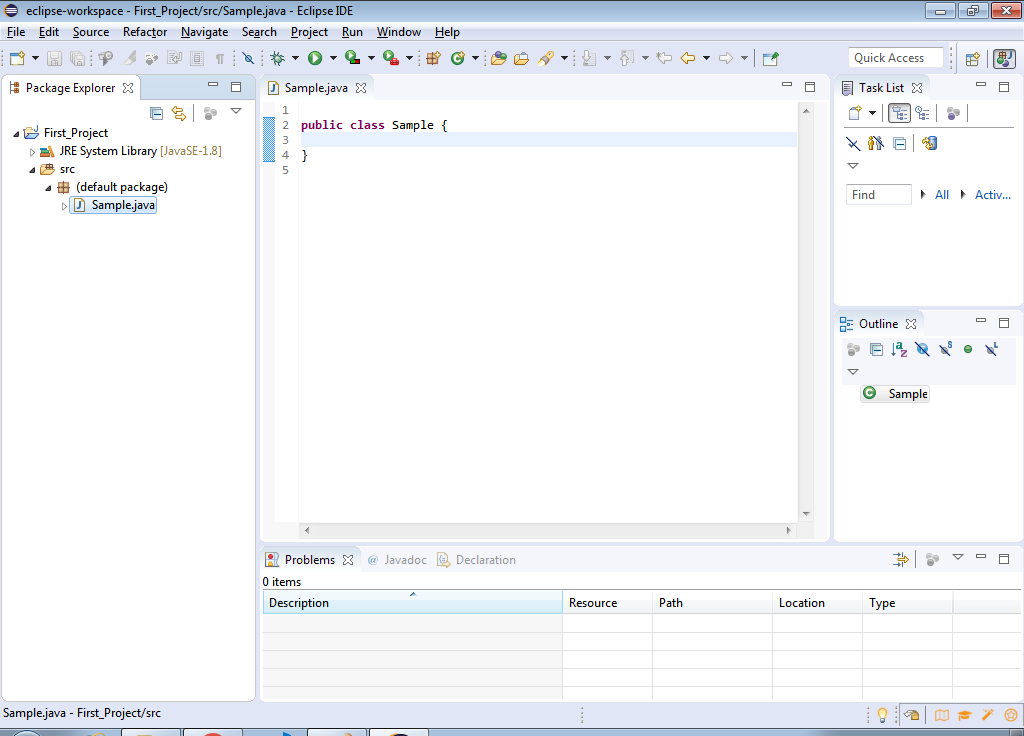
Creating Project and Classes in Eclipse IDE
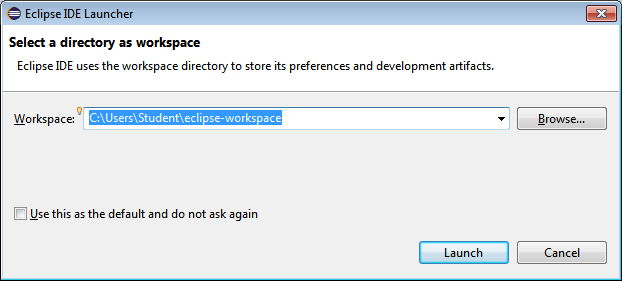
Browse the Workspace for storing the java project and click on Launch.
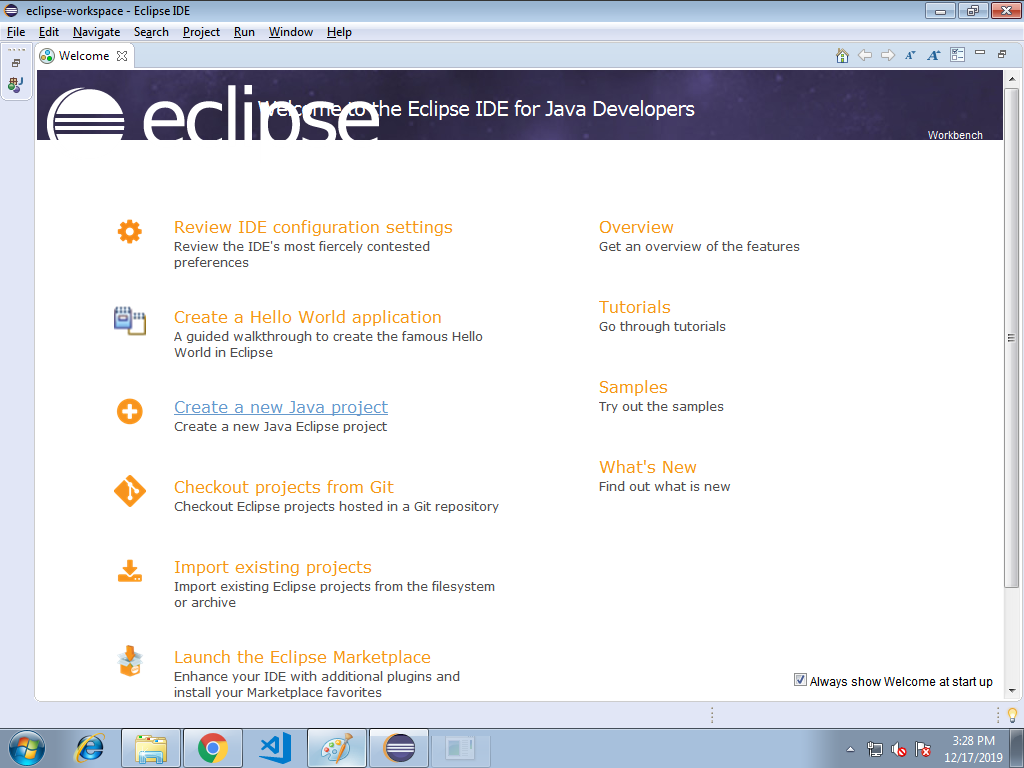
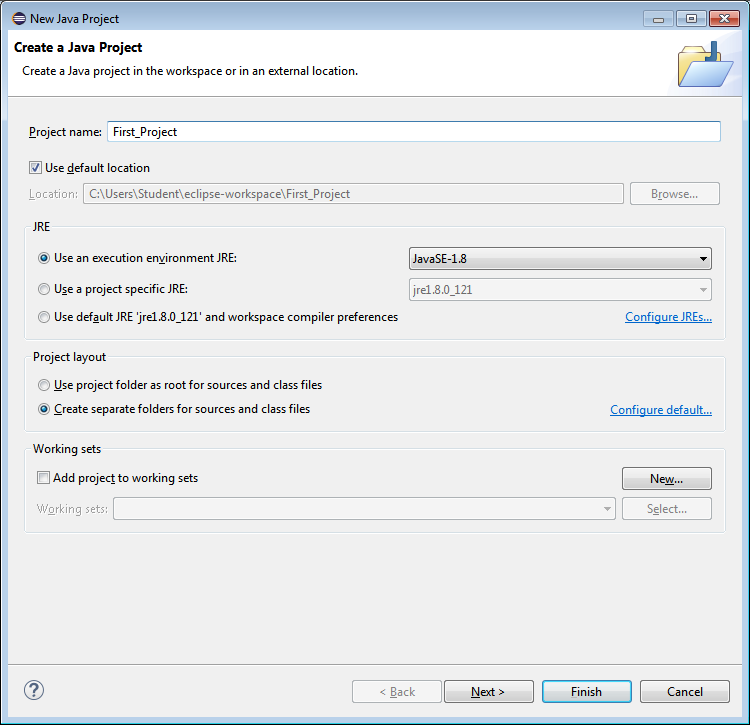
Select "Create a new Java project".
Type the project name and click on Finish.
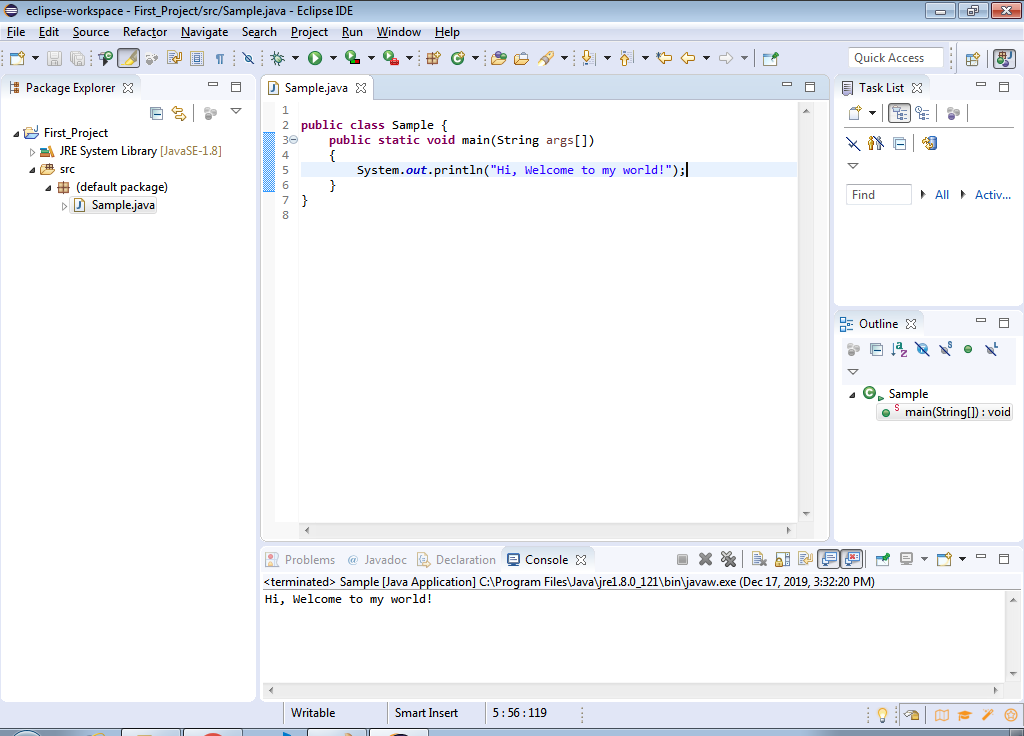
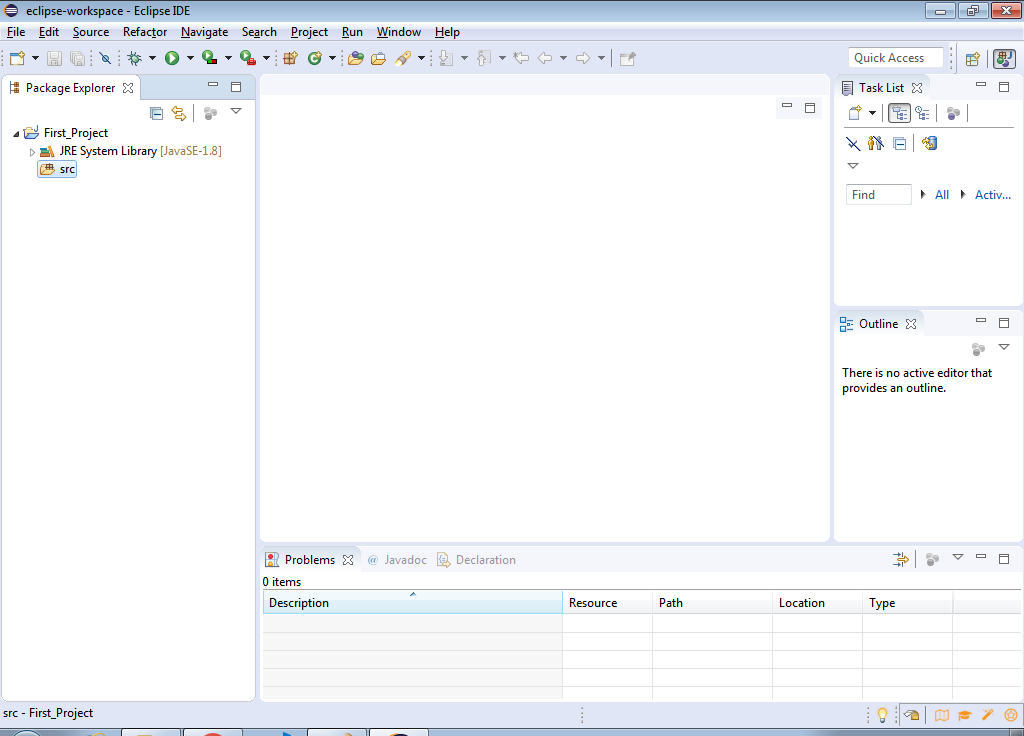
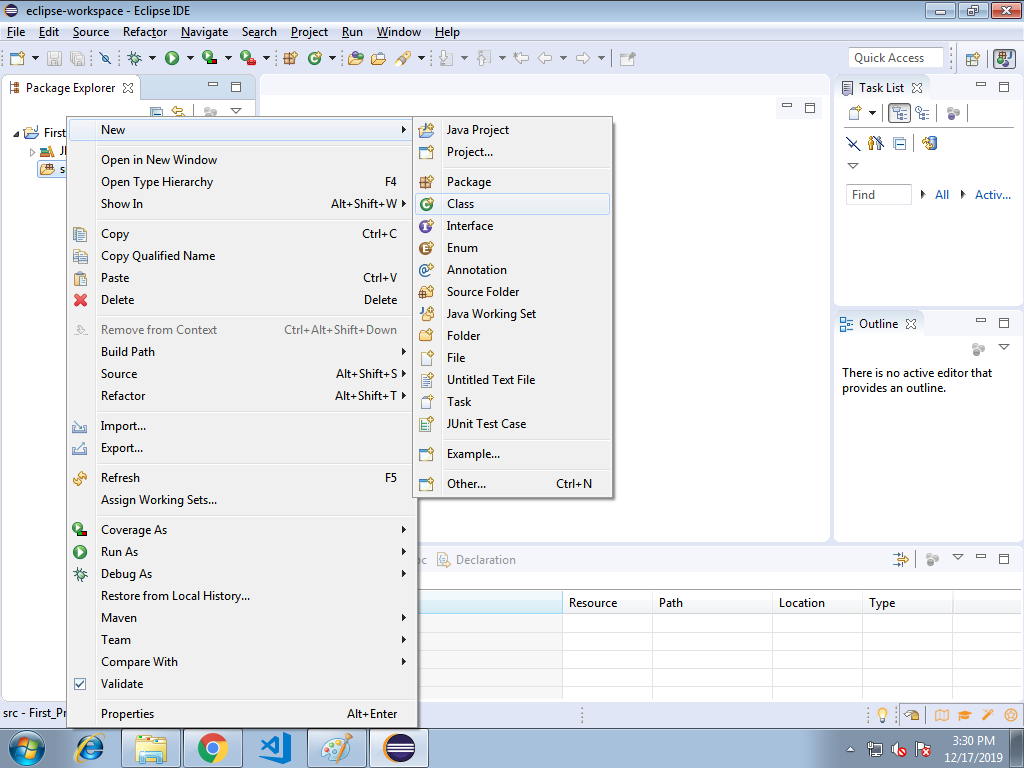
Now, create the class in src directory from Package Explorer window.
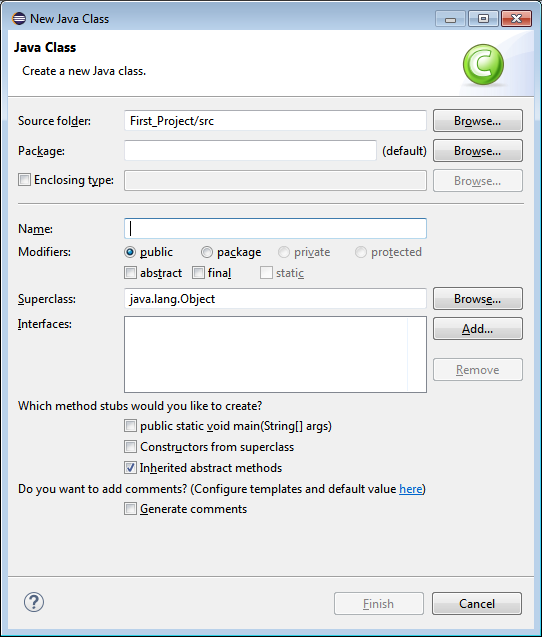
Type the class name and click on Finish.
Type the java code.
Click on Play button to run or execute the java code.